
Tuesday, January 21, 2014
Making your own eyeshadow palette is easier than you think!

Wednesday, January 15, 2014
Tuesday, January 14, 2014
Home hair coloring adventures

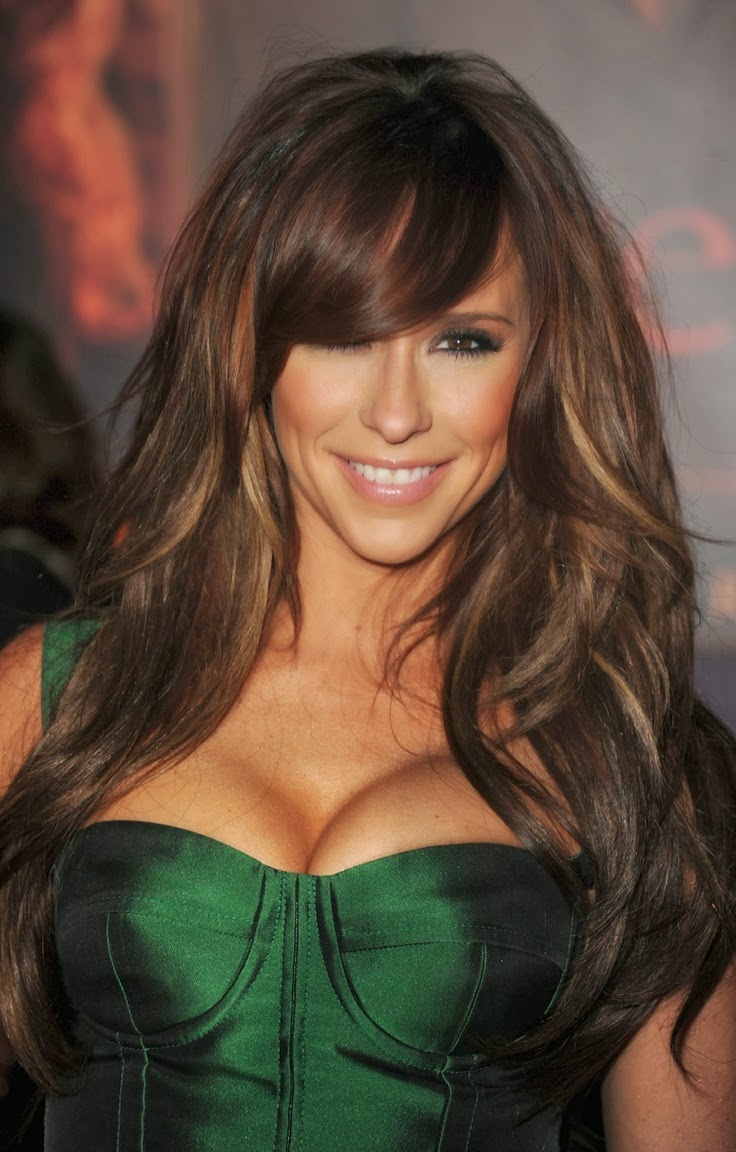 |
| the goal |
Saturday, January 11, 2014
Makeup tricks that will change your life!
- When applying false lashes apply the glue directly onto eyelid like eyeliner. Let sit for a few seconds and apply lashes.
- Avoid lipsticks if possible. Your lip color is usually the perfect shade anyways.
- Highlight above brows not under to lift the eyes.
- Use corrector not concealers to get rid of under eye bags.
- Purchase a full coverage foundation. This way you can create any finish you desire. Mix with a dab of lotion for a tinted moisturizer.
- Avoid shimmer on crease of eyes. It exaggerates wrinkles.
- Know your eye-shape for best eyeshadow application.
- Avoid shimmery bronzer if you have pale skin. Pale skin wears matte colors best while ebony skin wears shimmers best.
- Cream products work better for dryer skin.
- For fuller looking lashes, coat them with a liquid eyeliner.
Makeup basics uncovered
- Start with freshly washed skin and apply a light moisturizer.
- If using a primer, be sure to match whatever foundation you are using. (silicone based foundation=silicone based primer)
- Dot foundation onto face and really massage the product onto your skin.
- Use downward strokes to avoid makeup mustache!
- Be sure to bring product down to chin for flawless blending.
- Avoid concealor if possible, at least match it to your foundation.
- Use color corrector under eye, not concealor.
- Gently pat onto skin to blend it, dont rub.
- Use a tissue to mop up excess oils on face. It will prolong your foundation.
- When applying powders, dust excess off your brush. More product can be applied rather then too much being toned down.
- If highlighting and contouring, apply highlight first.
- Highlight above brow arch for lift, cheekbones, tip of nose and cupids bow for fuller lip.
- Contour in a nuber 3 shape from forehead, along hairline, under cheekbone and back then down jawline.
- Blend, blend, blend!
- Apply blush starting at outer corner of eye up towards your temple in circular motion.
- The least amount of blush on your brush as possible and slowly build the color.
- Use a big fluffy brush to blend everything together, avoid any harsh lines.
Friday, January 10, 2014
Snowman cupcakes
Here is a little festive idea for winter time. This is super easy to make and your guests will love it! Simply make a box of cupcakes, use white icing and make the eyes out of little chocolate chips with a butterscotch chip nose. Simple right?


Subscribe to:
Posts (Atom)